Native Ad format
Native ads allow for the seamless integration of ad content into the native views of your application, ensuring that ads maintain the style and quality consistent with the rest of your app. The RTB-Stack SDK supports the loading, display, and event tracking of native ads. There are two primary methods for loading native ads:
- Using predefined native templates.
- Composing your own custom native request and managing the display manually.
Before proceeding, ensure that you have completed the RTB-Stack SDK integration as outlined in the Get started guide.
Native Ad Request Setup
To initiate a native ad request, you need to specify the required and optional assets you expect to receive:
SDKSettings.setRequestBaseUrl("Your endpoint request url");
NativeAdRequest adRequest = new NativeAdRequest(this, "Your custom tag id");

// Set required assets to request
EnumSet assets = EnumSet.of(
       NativeAdAsset.TITLE,
       NativeAdAsset.IMAGE_ICON,
       NativeAdAsset.DESCRIPTION
);
adRequest.setRequiredAssets(assets);

// Set optional assets to request
EnumSet<NativeAdAsset> optAssets = EnumSet.of(
        NativeAdAsset.CTA
);
adRequest.setOptionalAssets(optAssets);
Note:
- Endpoint Request URL: You can obtain an Endpoint Request URL from the Edit Endpoint window as described here.
- Custom Tag ID: Assign a random string as a Tag ID for tracking and reporting purposes. For example, use "Native_Content_Feed" to represent a native ad displayed within a content feed in your app.
Displaying Native Ads
Set a listener to handle the native ad response and display it within your layout. Register all views involved in displaying the native ad to enable SDK-managed click tracking and impression tracking:
adRequest.setListener(new NativeAdRequestListener() {
   @Override
   public void onAdLoaded(NativeAdResponse nativeAdResponse) {

       NativeAdView nativeAdView = findViewById(R.id.native_ad_layout);
       TextView title = findViewById(R.id.title);
       TextView description = findViewById(R.id.description);
       NativeIconView icon = findViewById(R.id.icon);
       Button buttonCta = findViewById(R.id.button_cta);

       // Fill views with required assets
       title.setText(nativeAdResponse.getTitle());
       description.setText(nativeAdResponse.getDescription());

       // Fill views with optional assets
       if(nativeAdResponse.getCallToAction() != null) {
          buttonCta.setVisibility(View.VISIBLE);
          buttonCta.setText(nativeAdResponse.getCallToAction());
       } else {
          buttonCta.setVisibility(View.GONE);
       }

       nativeAdView.setTitleView(title);
       nativeAdView.setDescriptionView(description);
       nativeAdView.setIconView(icon);
       nativeAdView.setCallToActionView(buttonCta);

       // Register views for tracking impressions and clicks
       nativeAdResponse.registerViews(nativeAdLayout, new NativeAdEventListener() {
           @Override
           public void onAdWasClicked() {
           }

           @Override
           public void onAdWillLeaveApplication() {
           }

           @Override
           public void onAdWasClicked(String clickUrl, String fallbackURL) {
           }
       });
   }

   @Override
   public void onAdFailed(ResultCode errorcode) {
   }
});After setting assets and listener, you can load an ad:
adRequest.loadAd();Displaying Native Ads with NativeAdView
To effectively display native ads, you should use the NativeAdView class as a wrapper for your native ad layout. This ensures proper handling of layout and interaction within your app. Here’s how you can define it in your XML layout:
<com.rtbstack.sdk.NativeAdView
  android:id="@+id/native_ad_layout"
  android:layout_width="match_parent"
  android:layout_height="wrap_content">

    <LinearLayout
      android:id="@+id/container"
      android:layout_width="match_parent"
      android:layout_height="wrap_content"
      android:orientation="horizontal"
      android:weightSum="4"
      android:padding="10dp">

        <com.rtbstack.sdk.NativeIconView
          android:id="@+id/icon"
          android:layout_width="0dp"
          android:layout_height="wrap_content"
          android:layout_weight="1"
          android:adjustViewBounds="true"/>

        <LinearLayout
          android:layout_width="0dp"
          android:layout_height="wrap_content"
          android:layout_weight="2"
          android:layout_marginStart="10dp"
          android:orientation="vertical">

            <TextView
              android:id="@+id/title"
              android:layout_width="wrap_content"
              android:layout_height="wrap_content"/>

            <TextView
              android:id="@+id/description"
              android:layout_width="wrap_content"
              android:layout_height="wrap_content"/>

        </LinearLayout>

        <Button
          android:id="@+id/button_cta"
          android:layout_width="0dp"
          android:layout_height="wrap_content"
          android:layout_weight="1"
          android:visibility="gone"/>

    </LinearLayout>

</com.rtbstack.sdk.NativeAdView>NativeAdRequest Configuration Options
The NativeAdRequest class provides several configuration options that allow you to control how the ad’s URL is handled when a user interacts with the ad. Here are the options you can configure:- Open an ad’s URL in an in-app browser: This option keeps the user within your application while browsing the ad’s content:
- Open the URL in the device’s default browser: This takes the user out of your app to the device’s browser:
- Return the URL without opening it: This option provides the URL for your own custom handling:
adRequest.setClickThroughAction(ClickThroughAction.OPEN_SDK_BROWSER);
adRequest.setClickThroughAction(ClickThroughAction.OPEN_DEVICE_BROWSER);
adRequest.setClickThroughAction(ClickThroughAction.RETURN_URL);
Native Templates
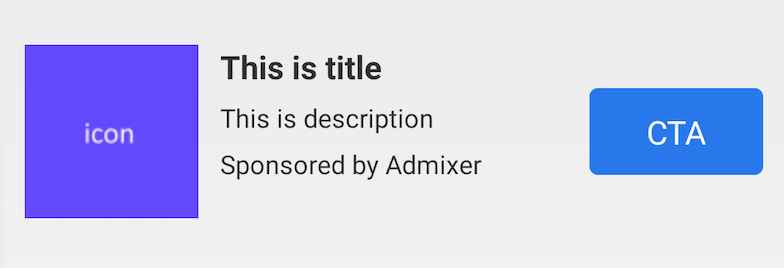
The RTB-Stack SDK offers two types of native templates: Small and Medium. These templates are designed to fit seamlessly within different parts of your application.
- Small Template: This is a long rectangular ad view typically used inside a content feed or at the bottom of a screen.
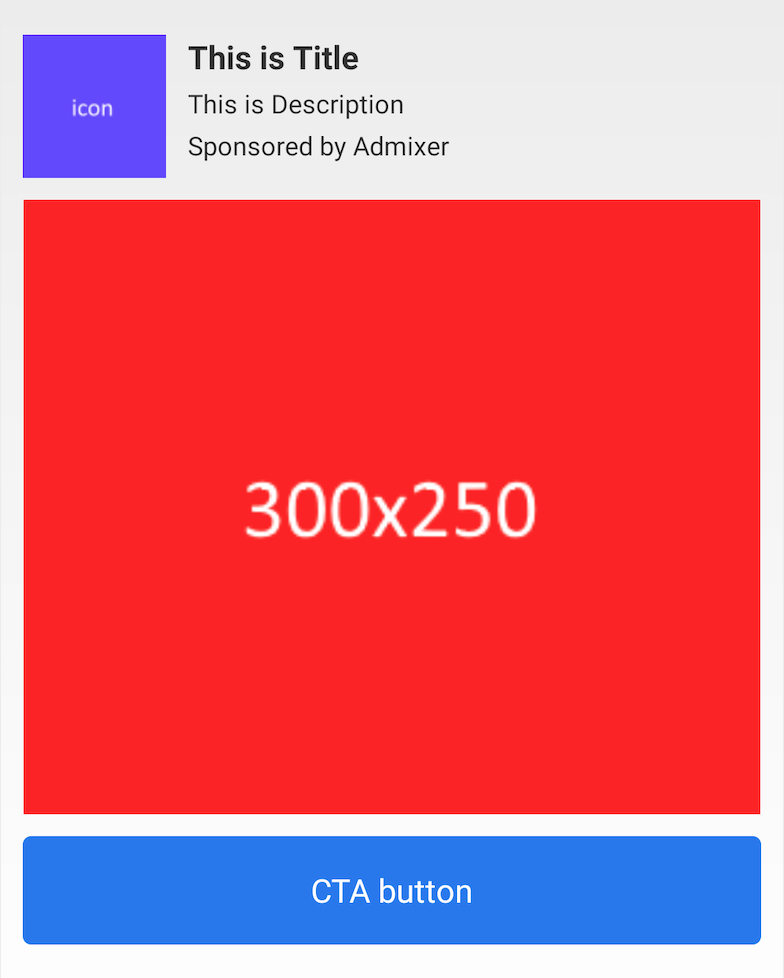
- Medium Template: This template is also rectangular but generally larger, suitable for use inside a content feed or on a transitional screen of the app.
You can initialize these native templates either programmatically or using XML.
1. Initialization in Code
To create and load a native template programmatically, follow these steps:
SDKSettings.setRequestBaseUrl("Your endpoint request url");
NativeAdTemplateView adView = new NativeAdTemplateView(this,
             "Your custom tag id", NativeAdTemplate.SMALL_TEMPLATE);
adView.loadAd();

LinearLayout container = findViewById(R.id.container);
LinearLayout.LayoutParams layoutParams =
         new LinearLayout.LayoutParams(
         ViewGroup.LayoutParams.MATCH_PARENT,
         ViewGroup.LayoutParams.WRAP_CONTENT);
adView.setLayoutParams(layoutParams);
container.addView(adView);2. Initialization Using XML
You can also define the native template directly within your layout XML file:
<com.rtbstack.sdk.NativeAdTemplateView
    android:id="@+id/native_template"
    android:layout_width="match_parent"
    android:layout_height="wrap_content"
    app:tag_id="YOUR_TAG_ID"
app:template="small"/>After defining the NativeAdTemplateView in your XML, you can load an ad as follows:
NativeAdTemplateView adView = findViewById(R.id.native_template);
adView.loadAd();Tracking Events with NativeAdTemplateView
To monitor the load status and interact with native ad events, set listeners on the NativeAdTemplateView:
adView.setRequestListener(new NativeAdRequestListener() {
   @Override
   public void onAdLoaded(NativeAdResponse response) {
   }

   @Override
   public void onAdFailed(ResultCode errorcode) {
   }
});

adView.setEventListener(new NativeAdEventListener() {
   @Override
   public void onAdWasClicked() {
   }

   @Override
   public void onAdWillLeaveApplication() {
   }

   @Override
   public void onAdWasClicked(String clickUrl, String fallbackURL) {
   }
});Customizing Native Template
The Android platform offers flexibility to customize native ad templates provided by the RTB-Stack SDK. This customization allows you to align the ad's appearance with the overall design of your application.
Steps to Create a Custom Layout for Native Templates
To create a custom layout that the SDK can use to inflate with ad data, follow these steps:
-
Create Layout Files:
- For a small template, create a layout file named
am_small_template_view.xml. - For a medium template, create a layout file named
am_medium_template_view.xml.
- For a small template, create a layout file named
- Define Required Views: In your custom layout files, define the following views with specific IDs:
ImageViewor a subclass with the IDam_template_icon.TextViewor a subclass with the IDsam_template_title,am_template_desc, andam_template_sponsored.Buttonor a subclass with the IDam_template_cta.- For the medium template only, an
ImageViewor a subclass with the IDam_template_main_image.
Customize Existing SDK’s Native Template Layout
You can override certain resource values to customize the layout dimensions and appearance according to your needs:
- For Small Template:
am_small_template_weight_sum,am_small_template_icon_weight,am_small_template_content_weight,am_small_template_cta_weight:Define the proportional space each element (icon, content, CTA button) should occupy within the template.am_small_template_text_top_margin: Set the top margin for the description and sponsored text fields.am_small_template_cta_height:Specify the height of the CTA button.
- For Medium Template:
am_medium_template_weight_sum,am_medium_template_icon_weight,am_medium_template_content_weight: Allocate space proportions for the icon and content.am_medium_template_text_top_margin: Adjust the top margin for the description and sponsored text fields.am_medium_template_cta_height: Define the height of the CTA button.
- For Both Small and Medium Templates:
am_template_margin_default: Set the default margins around the template.am_template_text_large: Determine the text size for the title and button text.am_template_text_small: Set the text size for the description and sponsored fields.